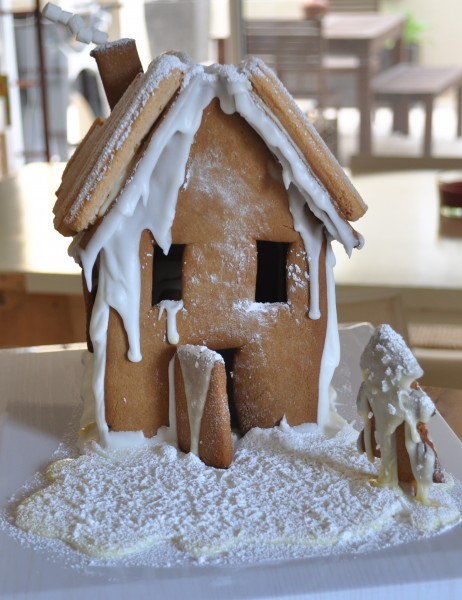
Gingerbread house
Fairytales seem to have been on my mind a lot lately. I’m not sure whether it’s Christmas time that makes me nostalgic but it’s definitely a great time of year to be a kid. Hansel and Gretel was the story playing in my head on Friday. Wouldn’t a house made of gingerbread be the most amazing place to live? Ok, maybe not to live, it would be a nightmare to clean and you’d be repairing it around the clock but it sure would be a lovely place to visit (as long as someone’s not trying to fatten you up to eat you).
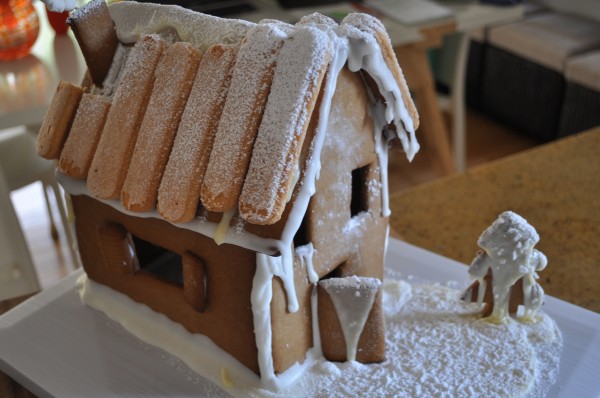
Gingerbread house
The last few Christmases I have intended to build the house from the fairytale but haven’t actually gotten around to it so when my friend asked me to bring dessert to our annual group Christmas party I knew it was time. I won’t say it was an easy task but it was lots of fun an a rather satisfying achievement.

The templates
As with most things that I am attempting for the first time, I start with a quick Google search. This time I typed ‘gingerbread house template’ into the search engine and came up with a printable PDF template to build my house. I would attach the link but for some reason I can’t. If you type that exact phrase into Google it is the second result that links directly to the PDF. I’m sure there are lots of other templates out there as well or if you’re really brave you could whip one up yourself.
I used my gingerbread recipe for the dough. There was just enough to make the house with a tree, 4 window shutters, a chimney and a front door, oh and a little circle of biscuit for me, just to make sure it wasn’t going to make people sick ![]() .
.
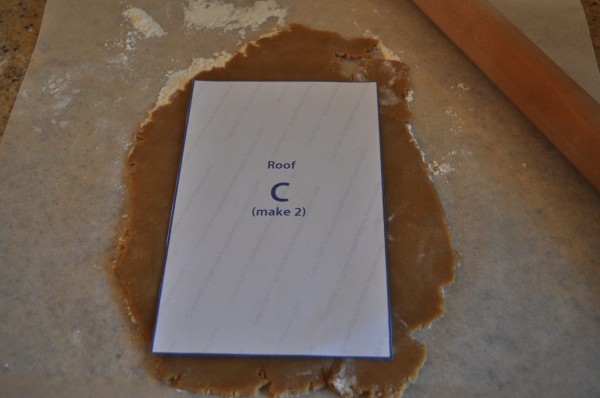
Cut out the walls and roof
Roll out the dough to about 1cm thickness then cut out the 4 walls and 2 roof pieces.
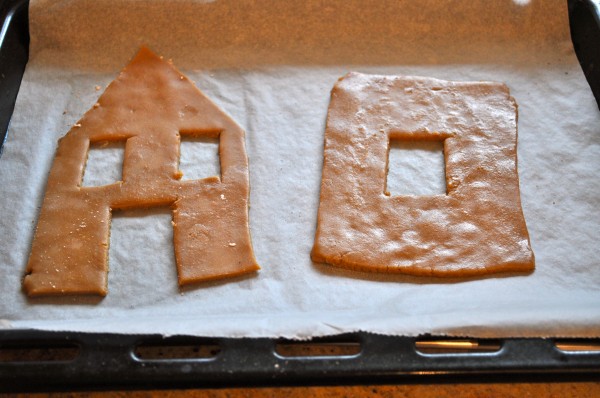
Ready for baking
Be extra careful transferring them to the lined baking trays. I found it much easier to transfer them in one piece and then cut out the windows etc once the gingerbread was on the tray ready for baking. The dough will rise and spread a little so make the openings a bit bigger than you want them to be.
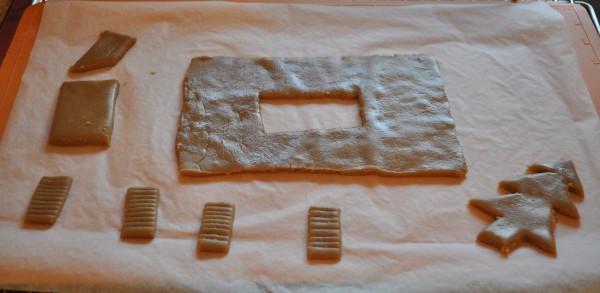
Window shutters
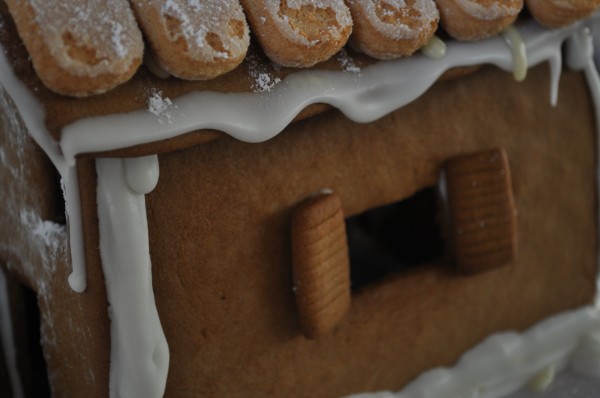
I also make some little shutters but cutting out rectangles and making a indents in them with a knife. I cut out a tree, a rectangle for the front door and another one with a triangular end to form the chimney. Bake everything for a little longer than you would if you were making biscuits. It needs to be nice and firm.
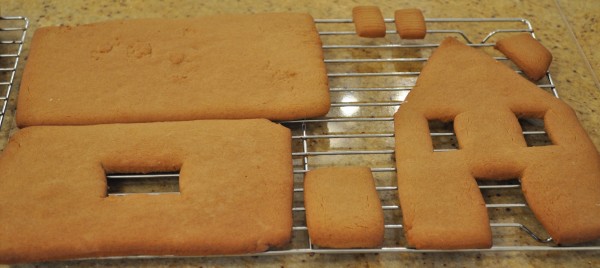
Cooling
Let the pieces cool on the trays until they start to stiffen and then transfer them to a wire rack to cool completely.
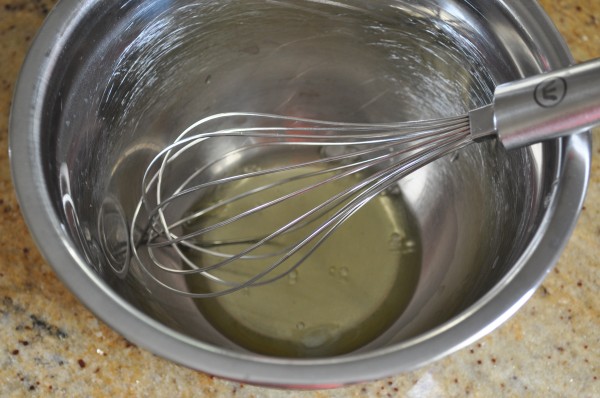
Beating the egg white
To make the cement icing beat one egg white until it starts to froth.
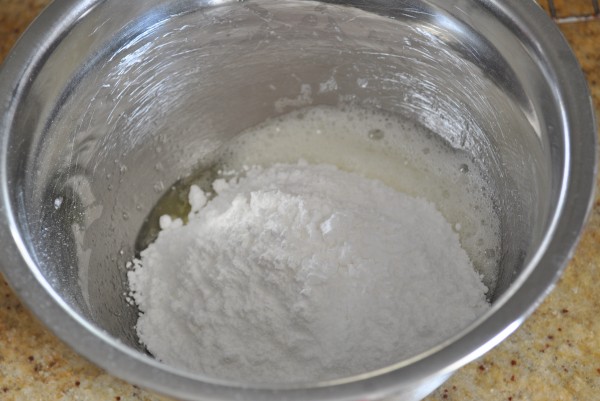
Icing sugar
Tip in one cup of icing sugar and stir it through. Then add a little icing sugar at a time until it is nice and thick. I ended up adding about an extra half a cup of icing sugar.
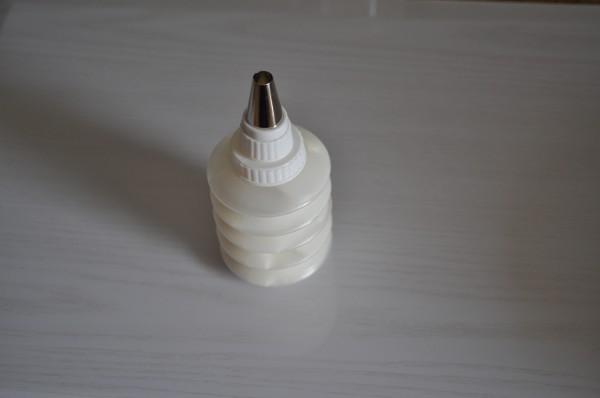
Ready for piping
Spoon the icing into a piping bag or a little squeezy thing like I did. I find these so much easier to use than a piping bag because I only need one hand to squeeze it.
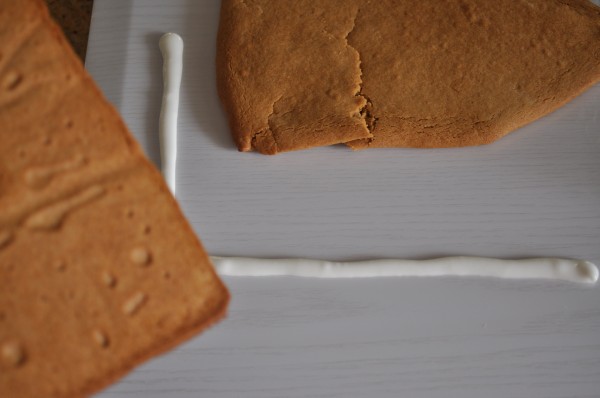
Laying the foundations
Start with the back piece and one of the side walls. Pipe a line of icing the length of each piece onto the board. Make sure your board is going to be big enough before you start building the house!
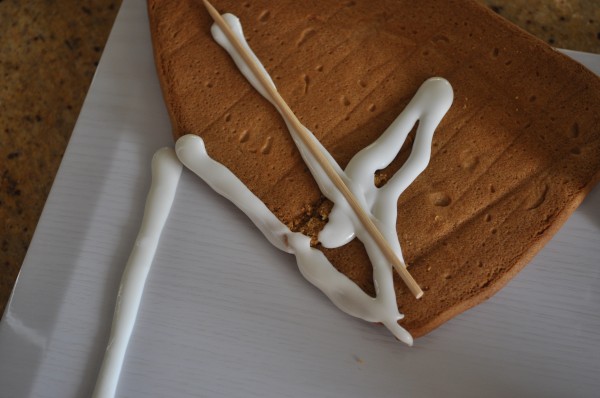
Reinforcements
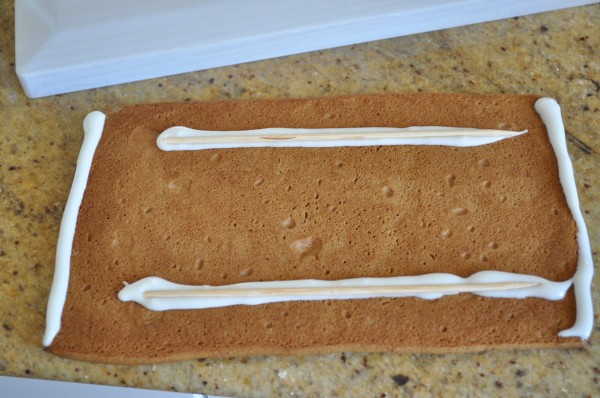
I also added a few reinforcements to the pieces just to be safe. If you want to, pipe a line of icing onto the inside of the gingerbread and press a skewer into it.
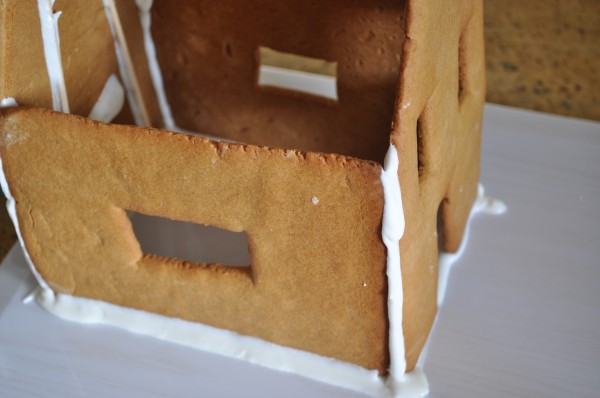
Erecting the walls
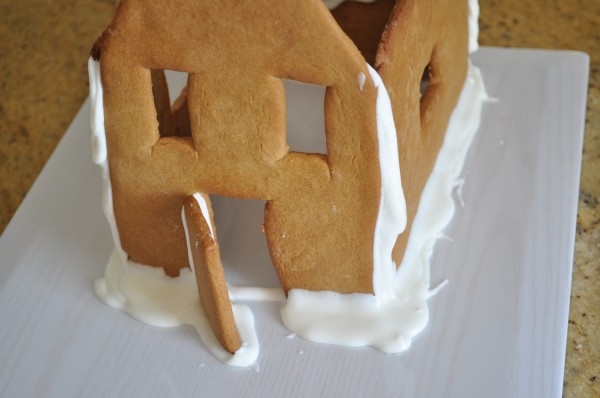
Pipe a line of icing where the back wall and a side wall will meet and stand them up pressing them together. Hold them together or place a glass in the middle to hold them up. Repeat the process with the front and side walls. Add more icing to the corners to hold it all in place. This stuff sets like cement so add as much as you can. I made two batches for the whole house.
Adding the door
Attach the door by piping a line of icing down the side of it and on the tray where you want the door to sit. Hold it in place until it sets. Leave the base to dry for at least two hours. If you have icing left over, pipe it around the bottom to make snow.
Reinforcing the roof
Make up another batch of icing to attach the roof. I used two pieces of reinforcement for each side of roofing.
Cement
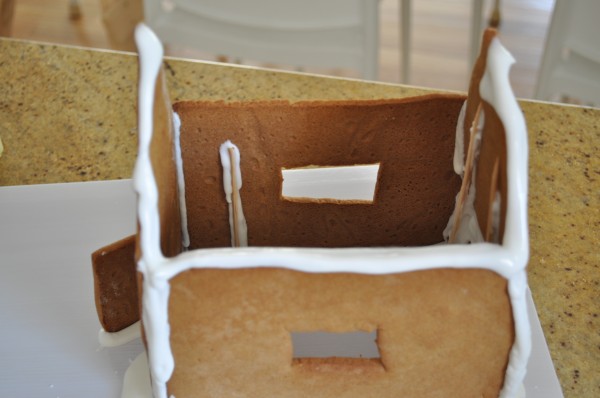
Pipe icing all around the top of the house ready for the roof to be attached.
The house with a roof
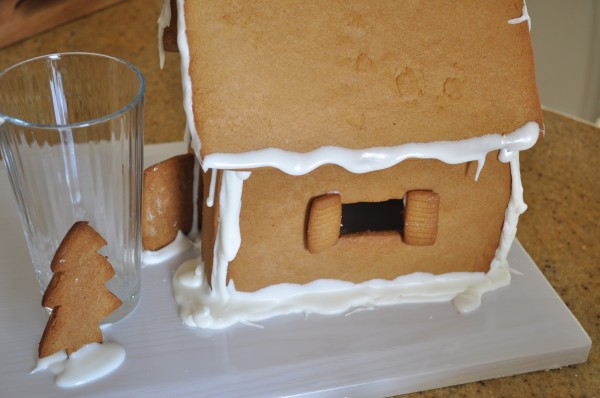
Place the roof on top and hold it in place until it will stay on its own. Repeat for the other side. Attach the shutters to the side of the windows and stick the tree out the front. Attach the chimney to the roof when you’re confident that it’s staying in place. Leave it to dry for at least another 2 hours before you decorate.
Decorated roof
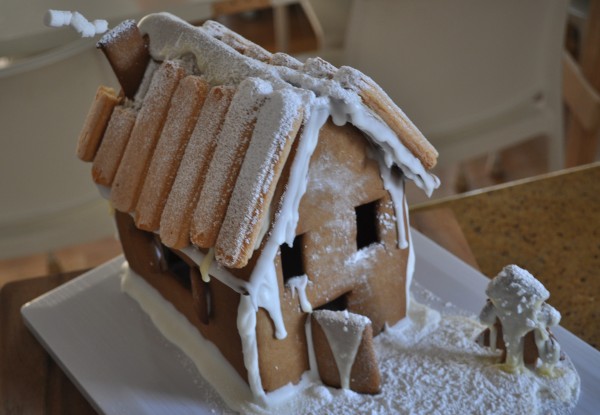
I used sponge finger biscuits to decorate the roof. I attached them with melted white chocolate but it would have been better to use another batch of icing. I had intentions of decorating it more but I thought simple was nice. Plus I was terrified of it collapsing under the weight of too many lollies.
Smoking chimney
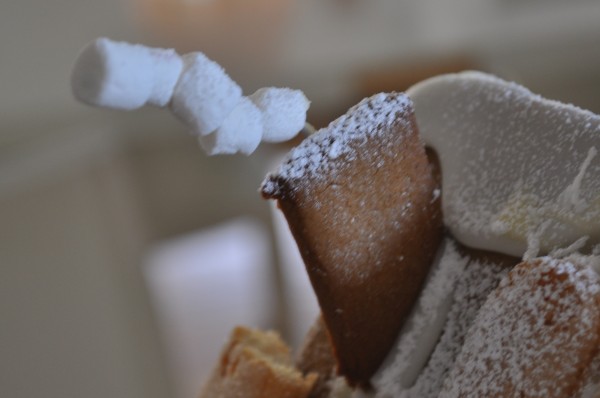
To make the chimney smoke, I threaded mini marshmallows onto a paperclip and stuck it on the back of the chimney.
Gingerbread house
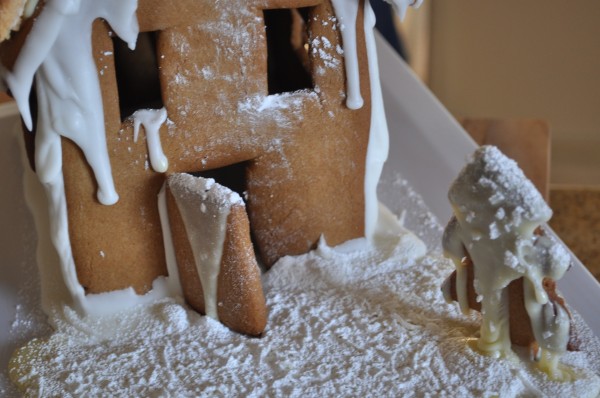
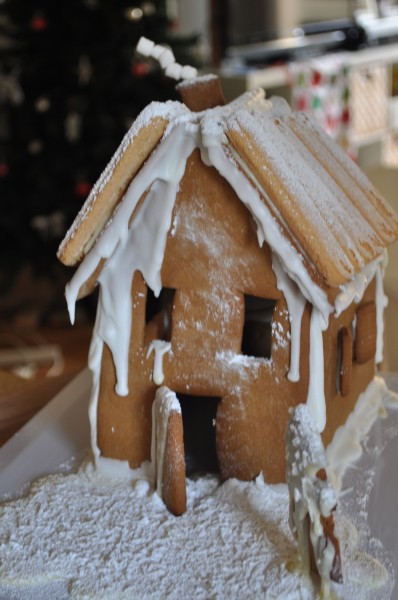
Sprinkle shredded coconut over the top of everything and then dust with icing sugar.
Gingerbread house
Just before we left I thought it would be a nice touch to fill the house with goodies so I hid some chocolates (yes I shared my Lindt balls) and candy canes inside for a sweet surprise. So what about you, have you tackled any Christmas challenges this year?
Shutters
I’m including my gingerbread house in the Sweet Adventure’s Blog Hop. Don’t forget to check out all the other delicious treats.

Gingerbread house
// ]]>
The post Gingerbread house building – Sweet adventures blog hop appeared first on Claire K Creations.